Last updated November 22, 2026
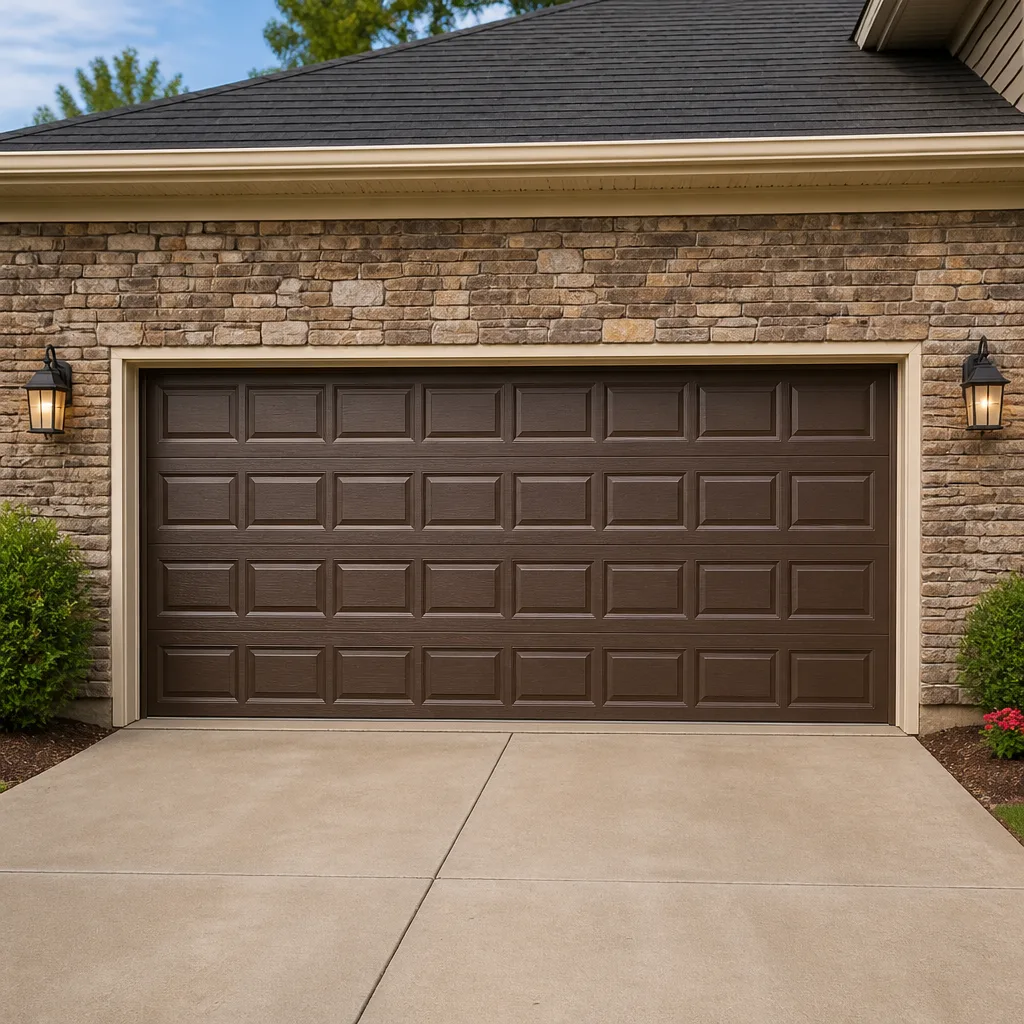 Raised-panel steel
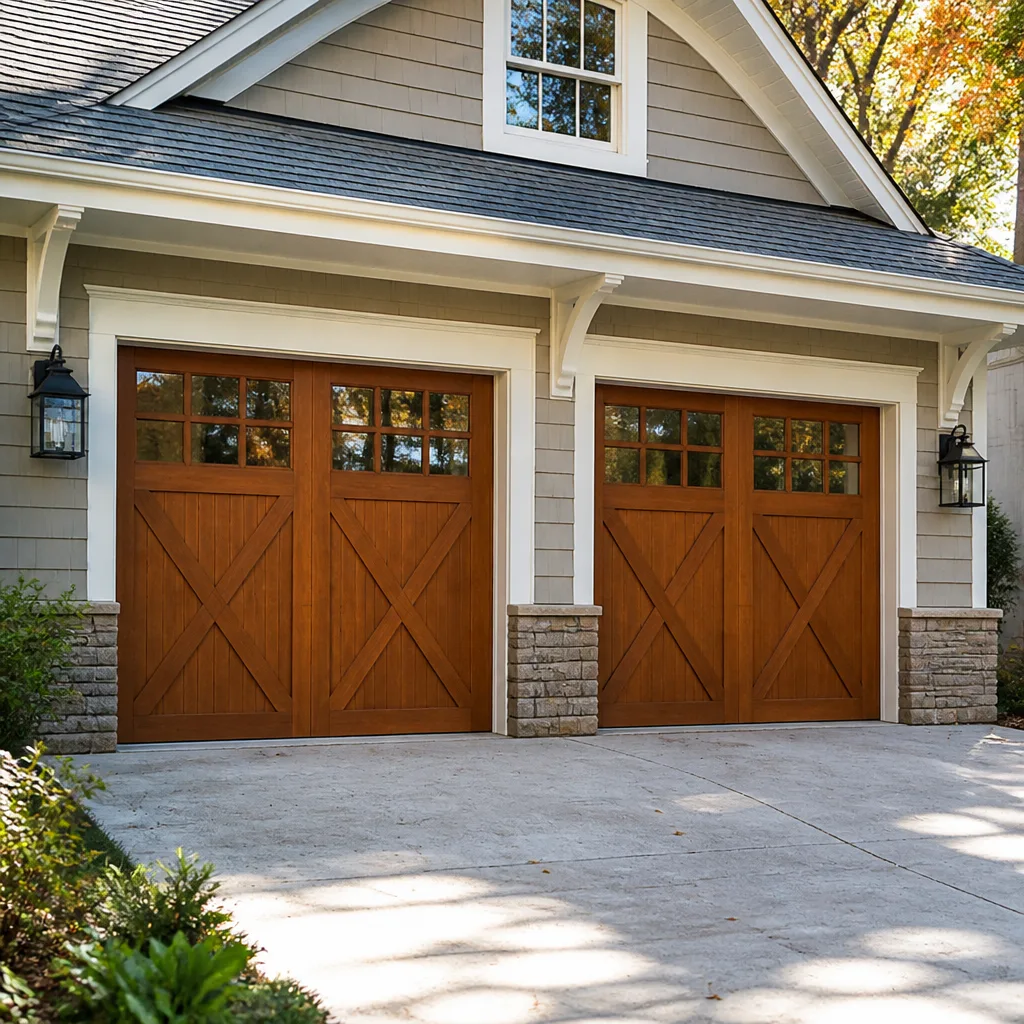 Carriage house
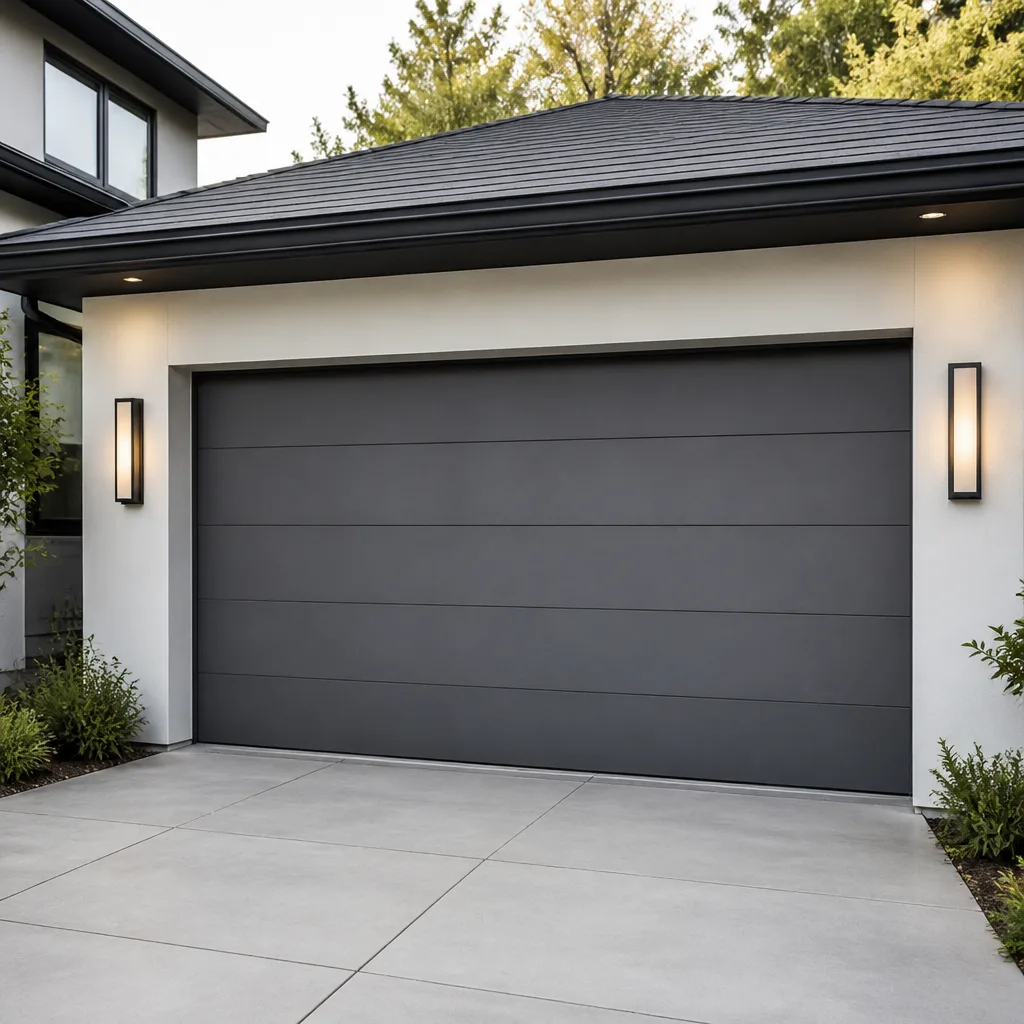 Modern flush
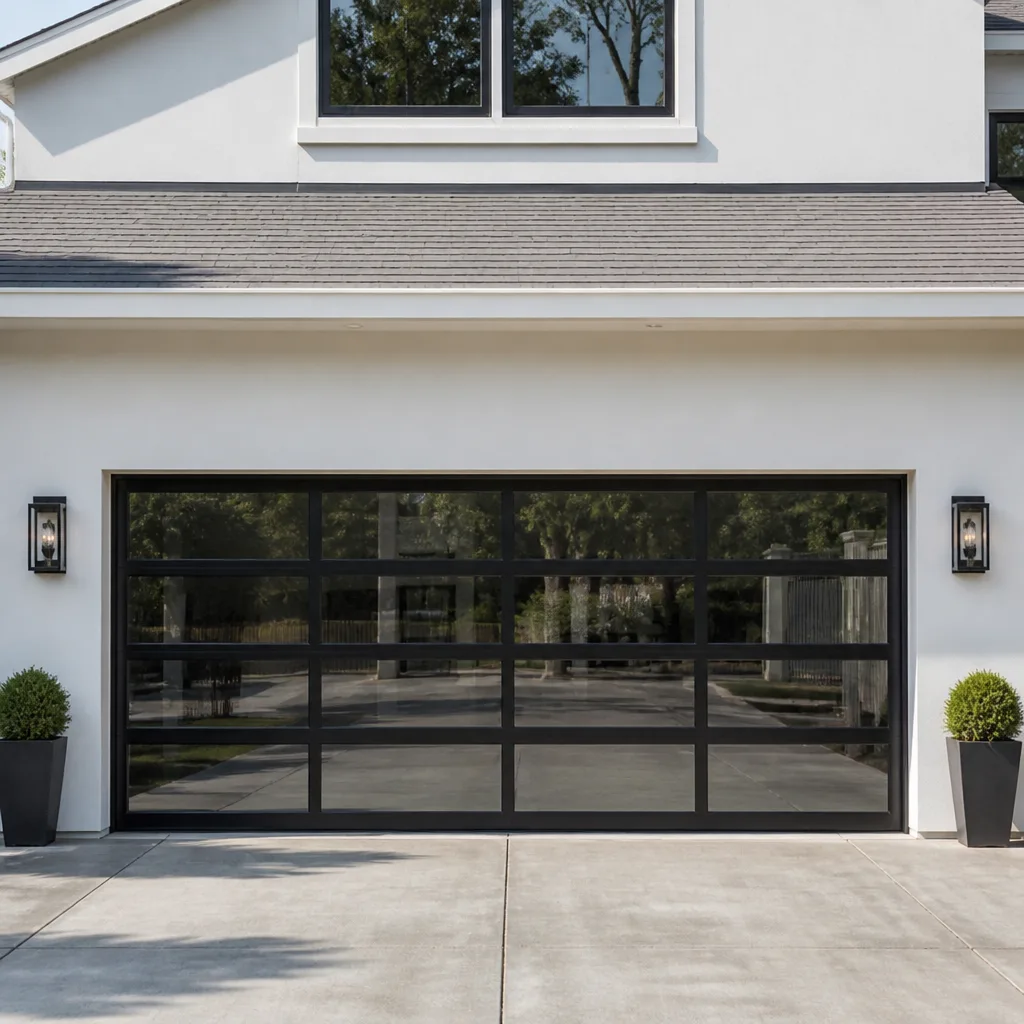 Full-view glass
 LiftMaster openers
 Chamberlain openers
Full 25-point door and opener safety check with every visit - springs, cables, rollers, tracks, and your LiftMaster or Chamberlain opener included
You get a price before we start. It does not change when the pro arrives.
Get your free estimateGarage Door Repair Maintenance Checklist for Green Run Homeowners
Most homeowners who call for emergency garage door service had a warning sign they’d already noticed weeks earlier. The gap wasn’t attention. It was interpretation: they saw a frayed cable or heard a new rattle and couldn’t tell whether it meant “note it and move on” or “call someone this week.” That uncertainty is what turns a ninety-dollar adjustment into a broken door at the worst possible moment. This checklist gives Green Run homeowners pass/fail criteria for every major garage door component, plus a maintenance schedule and a printable log. You’ll learn what a spring with one season left actually looks like, how to judge cable fraying, and which findings you can monitor versus which need same-week service.
Quick Answer
A solid garage door maintenance routine for Green Run homeowners covers three levels of checking: a monthly visual walk-around of springs, cables, rollers, and seals; annual lubrication and hardware tightening; and a professional balance and torsion assessment roughly every three years. The goal isn’t to perform repairs yourself but to recognize which findings are cosmetic and which mean scheduling service before the door fails. Anything involving high-tension springs or cables should be inspected visually only and left to a trained technician.
Styles & brands we work with
- Raised-panel steel
- Carriage house
- Modern flush
- Full-view glass
- LiftMaster openers
- Chamberlain openers
Table of Contents
- Why a Checklist Beats a Visual Glance
- Spring Inspection: What Failure Actually Looks Like
- Cable Fraying: The Go/No-Go Threshold
- Rollers, Hinges, and Bearings
- Bottom Seals, Weatherstripping, and Green Run Summers
- Opener Safety Checks You Can Do Monthly
- Monthly, Annual, and Every-Three-Years Schedule
- Building a Maintenance Log for Warranty and Sale
Why a Checklist Beats a Visual Glance
A garage door is the largest moving mechanical system in most homes, and it cycles more than any appliance you own. A family that parks two cars typically runs the door four to eight times a day, and every one of those cycles puts tension through the springs, cable wear on the drums, and load through the opener gears. Wear accumulates in small increments. By the time something fails loudly, the component has usually been failing quietly for a while.
What makes a checklist different from a quick look is the pass/fail line. “Inspect springs” tells you nothing. “Count the visible gaps in the coil and compare them to what they looked like a year ago” tells you something. In our experience working on every major brand, including Wayne Dalton and LiftMaster systems, the homeowners who avoid emergency calls aren’t more diligent than anyone else. They just know the specific criteria that separate normal wear from a component that needs a professional look this week.
Every item in this guide is a visual check, a listen, or a simple manual test. None of them require you to disassemble anything, adjust tension, or handle a spring or cable directly. Those are jobs for a trained technician with the right tools, and we’ll flag the danger points clearly as we go.
For a full picture of what repair options exist when a check does turn up a problem, see our garage door repair service page.
Spring Inspection: What Failure Actually Looks Like
Springs are the most dangerous component on your door and the one most often ignored until it snaps. There are two types you’ll see in Green Run garages: torsion springs, which mount horizontally on a shaft above the door, and extension springs, which run along the horizontal tracks on each side. Both hold enormous stored energy when the door is closed. Never touch, adjust, or try to remove a spring yourself, and never let anyone without specific spring training near one. That’s a hard rule.
What you can do is look, listen, and count.
Pass/Fail Criteria for Springs
- Pass: The spring coils are evenly spaced with no visible gaps between them, the spring has no rust pitting, and the door lifts quietly without a “boing” sound or a vibration you can feel through the floor.
- Monitor: You see one or two small gaps in the coil winding or light surface rust. The door still balances, but you plan a professional balance check within the next few months.
- Fail: Multiple visible gaps in the coil, rust-colored dust on the shaft, a distinct bang or pop sound during operation, or a door that binds and won’t stay open at chest height. Stop using the door and call for service the same week.
A torsion spring that’s lost most of its life often shows small gaps between coils as the wire stretches and relaxes. It’s not obvious to the untrained eye, which is why a comparison against last month’s photo helps. Take a picture of each spring on your first inspection and compare the coil spacing each month. If the gaps widen, that spring is losing tension and will eventually fail.
Spring work requires specialized tools, training, and the physical control to manage stored energy safely. When it’s time, call for Garage Door Repair Green Run. Spring repair is a named, core service for us, not an upsell discovered mid-job.
Cable Fraying: The Go/No-Go Threshold
Lift cables run from the bottom corners of the door to the drums at the top, and they carry the door’s weight along with the springs. A cable that frays and snaps will let one side of the door drop. That’s a genuine safety and security problem, not a slow-wear nuisance, and it’s why we treat every broken cable as an emergency service call.
You can check cables from a safe distance, with the door closed. Look at the straight run of cable where you can see it, usually near the bottom bracket and along the side tracks. You’re looking for hair-like strands that have separated from the main bundle.
The Go/No-Go Rule
- Go (safe to monitor): The cable is a single smooth braided surface with no loose strands, no kinks, and no deep rust. The cable tension is even on both sides.
- No-Go (call for service): You see even one broken strand sticking out from the bundle, a visible kink, or a cable that has jumped off its drum. Stop using the door. Delaying service here risks more than the door.
A single broken strand is the threshold. Cables don’t heal, and once the bundle starts unraveling, failure accelerates. Fraying also tends to happen on one side first, so compare left and right carefully; an uneven cable look is itself a warning sign.
If a cable has failed, that’s an emergency garage door service call. Call us rather than trying to operate the door by hand, because the remaining cable and the spring are both under load with nothing to counterbalance them.
Rollers, Hinges, and Bearings
Rollers, hinges, and the bearing plates at the end of the torsion shaft are small parts that wear quietly. A single squeaky hinge is harmless. A seized roller or a bad bearing can grind the track and put strain on the opener, which is where expensive damage starts.
Rollers come in two main materials. Nylon rollers are quiet and smooth but can get flat spots. Steel rollers are durable but noisier and can develop rust on the outer wheel. Both can lose their ball bearings and start to wobble in the track.
Roller and Hinge Pass/Fail
- Pass: Rollers roll smoothly through the track without wobbling or squeaking. Hinges move freely and stay quiet during door travel.
- Monitor: One or two hinges squeak or groan. A bit of white lithium grease on the hinge pin will often quiet them, and that’s an annual lubrication item.
- Fail: A roller wobbles in its bracket, has a visible flat spot, or fails to spin. This concentrates load onto the track and the opener. Schedule a professional service visit in the next week or two.
If you hear a grinding or metallic scrape that follows the door along one side, that’s usually a roller or bearing issue worth a call. Our garage door repair team handles these small component replacements alongside the larger repairs so nothing gets left at “monitor” forever.
When you’re tightening bolts as part of your annual check, snug them without overtightening. Brackets that strip or crack become a repair, not a maintenance win.
Bottom Seals, Weatherstripping, and Green Run Summers
The bottom seal is the strip at the base of the door, and Green Run’s humid summers take a toll on it. Rubber seals harden, split, and stop sealing. Vinyl seals can shrink and pull away from the tracks. Either way, a failing seal lets in water, insects, and humid air, and it changes how the door sits against the ground.
Then there’s the roller-stem question in coastal-adjacent air. Roller stems (the small metal shafts that hold the roller to the bracket) and any exposed hardware nearby can develop surface oxidation in humid climates. Oxidation on the stem isn’t an emergency, but if it’s combined with wobbling, the roller is failing and should be replaced rather than greased.
The Seal Check
- Close the door and look at the gap between the seal and the floor from inside. No daylight should get through, and the door should compress the seal slightly, not rest on it.
- Press the seal with your thumb. It should feel springy, not stiff or brittle. If it cracks where you press, the seal is done.
- Look for splits, tears, or sections that drag on the floor and get pinched when the door opens.
If the door rubs the seal unevenly across its width, that’s often a track alignment or roller issue rather than a seal problem. A technician can tell the difference quickly; on your own, note the pattern and mention it when you call.
Seal replacement is a modest job that pays you back in a quieter door and a drier floor. Our team includes it in routine maintenance visits, and it’s part of what we look at during a garage door installation review for homeowners thinking about replacing an aging door.
Opener Safety Checks You Can Do Monthly
Your opener has two safety systems that should be tested every month. The photo-eye and the auto-reverse or pressure-sensing feature are what stop the door from coming down on a person or pet. Testing them takes under three minutes and is the highest-value maintenance task on the whole list.
1. Test the Photo-Eye
With the door open, press the wall button to start closing it, then wave a broomstick horizontally across the light beam near the floor (don’t use your body). The door should reverse immediately. If it doesn’t, check that both lenses are clean, aligned, and have power. A blocked or misaligned photo-eye is a common cause of a door that opens but won’t close, and it’s a safety system, not just a convenience.
2. Test the Auto-Reverse
Lay a roll of paper towels flat under the door and let the door close onto it. The door should reverse on contact. If it stops and keeps pushing, the opener’s force settings or something in the door mechanism needs attention.
3. Check the Opener Unit Itself
- Listen for grinding, humming, or a motor that runs but doesn’t move the door. All three suggest opener trouble and warrant a call.
- Check whether the lights blink in a pattern rather than staying solid. On smart-home openers from LiftMaster, Chamberlain, and Genie, the flashing pattern is a diagnostic code; look it up in the manual.
- Confirm the manual release cord works and the door can be operated by hand (only with the door closed and the spring checked, so it isn’t fighting high tension).
When the opener itself is the problem, that’s a separate repair from the door hardware. Our garage door opener repair work covers legacy and current smart-home units, and technicians can also help if you’re weighing new door hardware alongside a newer opener.
Monthly, Annual, and Every-Three-Years Schedule
Not every check needs to happen on the same schedule. Grouping them this way keeps the routine realistic and makes it likelier you’ll actually do it. Print the following table as a wall chart if that helps.
Monthly Checks (15 Minutes)
- Photo-eye and auto-reverse tests on the opener.
- Visual walk-around of springs (compare against last month’s photo).
- Quick look at visible cable runs for loose strands or kinks.
- Look at the bottom seal gap from inside the garage for daylight.
- Listen for new sounds and note anything unusual in the log.
Annual Checks (1 to 2 Hours)
- Lubricate hinges, rollers, and the spring shaft (never the spring coil itself) with a garage-door-rated grease or spray lubricant.
- Tighten hinge and bracket bolts to snug, not over-torqued.
- Inspect and clean the bottom seal; replace if hardened or split.
- Check the track for small dents or bends and confirm it’s still vertical and straight.
- Look for oxidation on roller stems and other exposed hardware.
- Test the manual release and reconnect the door.
- Review opener light diagnostics and battery backup, if your unit has one.
Every Three Years (Professional)
- Professional balance and torsion-spring assessment by a trained technician.
- Track alignment check and roller/bearing inspection with the door under load conditions.
The professional balance test is worth the visit. Springs lose tension gradually, and a doctor’s-eye assessment of the torsion system catches wear long before a snap. In our experience, the homeowners who call us for a three-year tune-up almost never call us for a broken-spring emergency.
Building a Maintenance Log for Warranty and Sale
A log turns your maintenance from a habit into a record. If you ever make a warranty claim on your opener or your door hardware, or you sell the house, having dated notes on inspections and service visits is proof that the failure wasn’t neglect. That matters more than most homeowners expect.
You don’t need an app. A simple paper log taped inside the garage door jamb, or a note file on your phone, is enough. Use this format for each entry:
- Date and time of inspection or service.
- Component checked (spring, cable, seal, opener, rollers, etc.)
- Result: Pass / Monitor / Fail, with a one-line note (“left spring has two visible gaps, watching”).
- Action taken: None / Greased hinge / Called for service.
- Service visit details, if any: what work was performed and, if it applies, which parts were replaced.
Attaching a photo of each spring on your first inspection makes future comparisons far easier. Store the photos with the log. When you list the house, a well-kept log answers the question every buyer asks about the door, and it shows the whole system has been looked after. If the log turns into a request for service quotes, our team can look at what’s in the notes and give you a realistic sense of what’s next on the door, whether that’s a spring repair, an opener issue, or reassessing the whole unit.
Common Mistakes to Avoid
- Treating “inspect” as “do nothing.” A lot of homeowners glance at the door and call it inspection. The checklist only works if you compare the component against pass/fail criteria.
- Lubricating the spring itself. Lubricant on a torsion spring coil does little good and can attract grit into the coil gaps. Grease the shaft and hinges instead, and leave the coil alone.
- Ignoring a single broken cable strand. One strand is the go/no-go threshold on cables. Waiting a week or two on a fraying cable can become a same-day emergency.
- Overtightening bolts during the annual check. Snug is enough. Over-torqued brackets crack and strip, and then you’re replacing hardware you never needed to touch.
- Skipping the photo-eye test because the door “seems fine.” The photo-eye failing is silent. The door closes one day with no reversing and there’s no warning.
- Assuming a bottom seal is cosmetic. In Green Run’s humid summers, a hardened or split seal lets moisture into the garage and lets pests in through the gap. It’s a small repair that protects the floor and interior.
- Skipping the professional balance check because the door works. A door that opens and closes normally can still have springs at the end of their tension life. A three-year balance assessment catches that before it becomes a snap.
See the difference
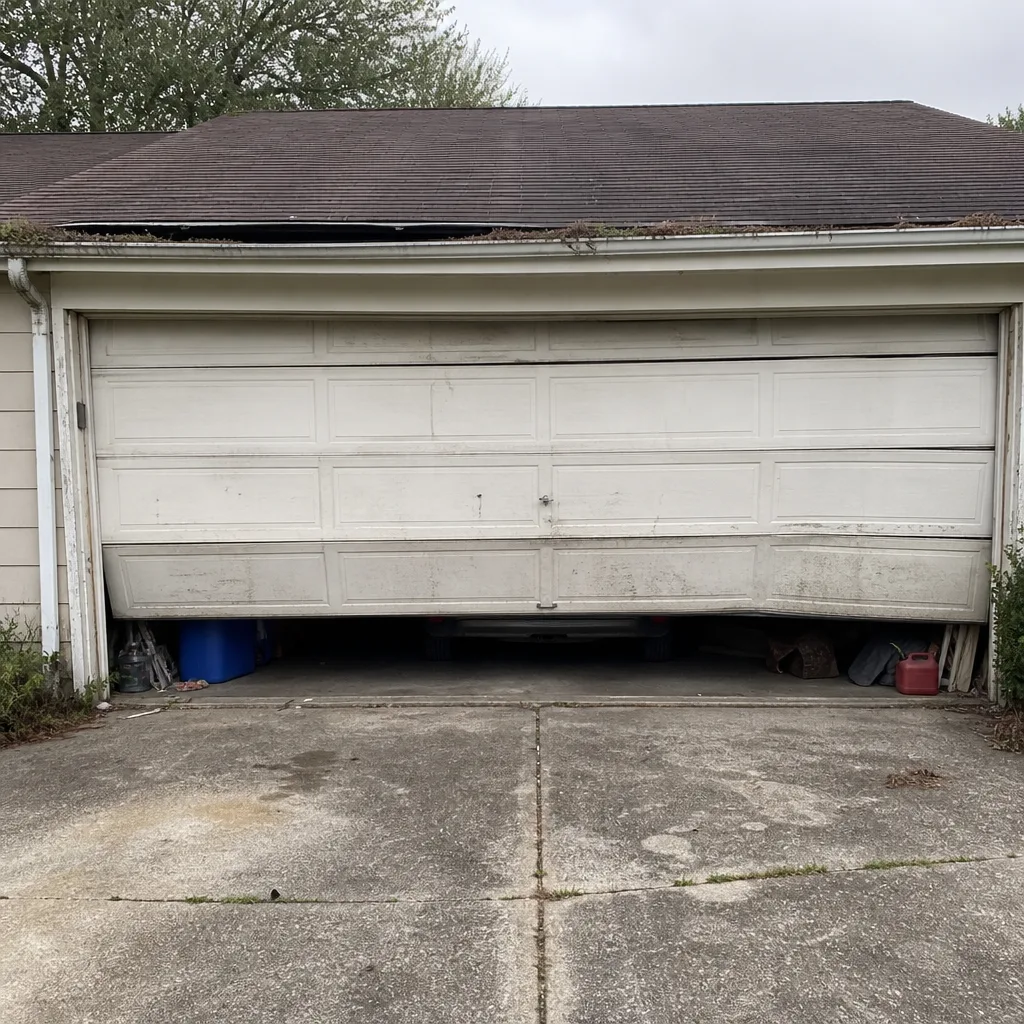 Before
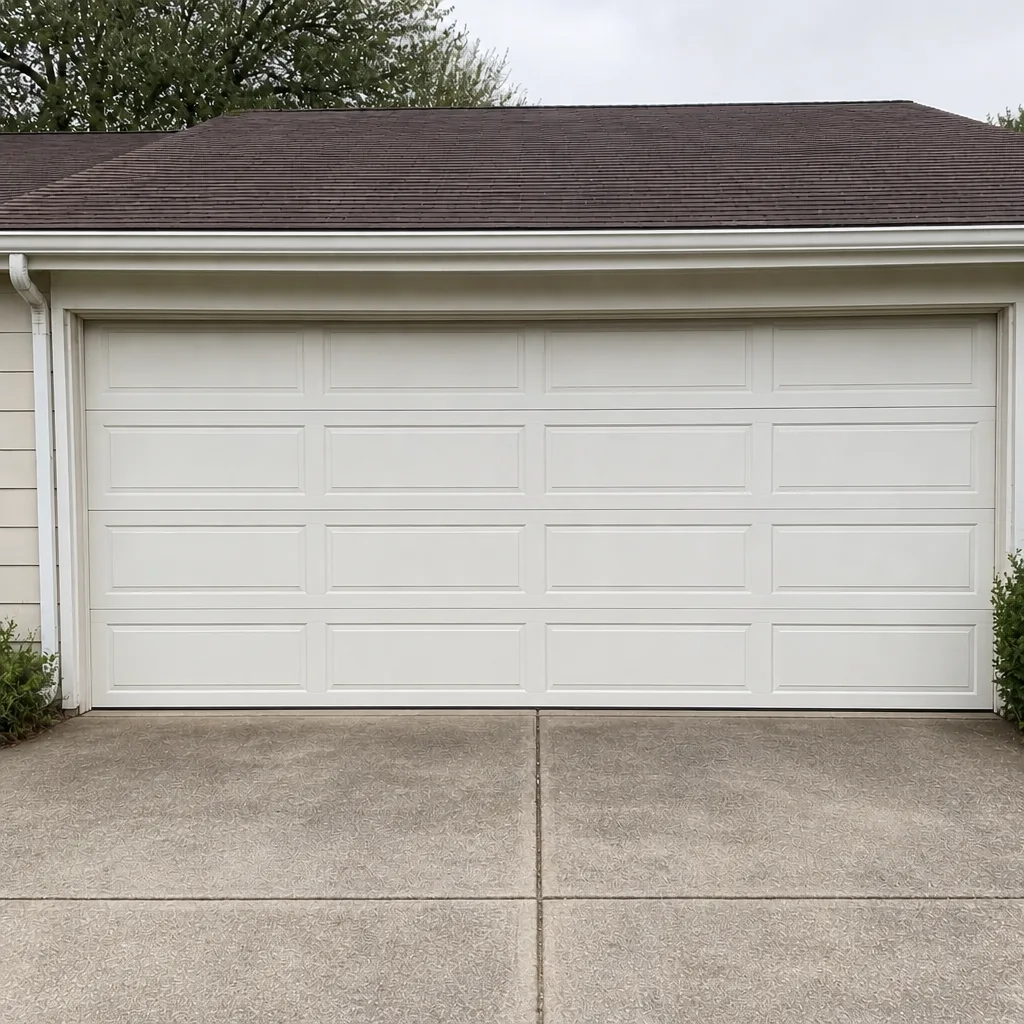 After
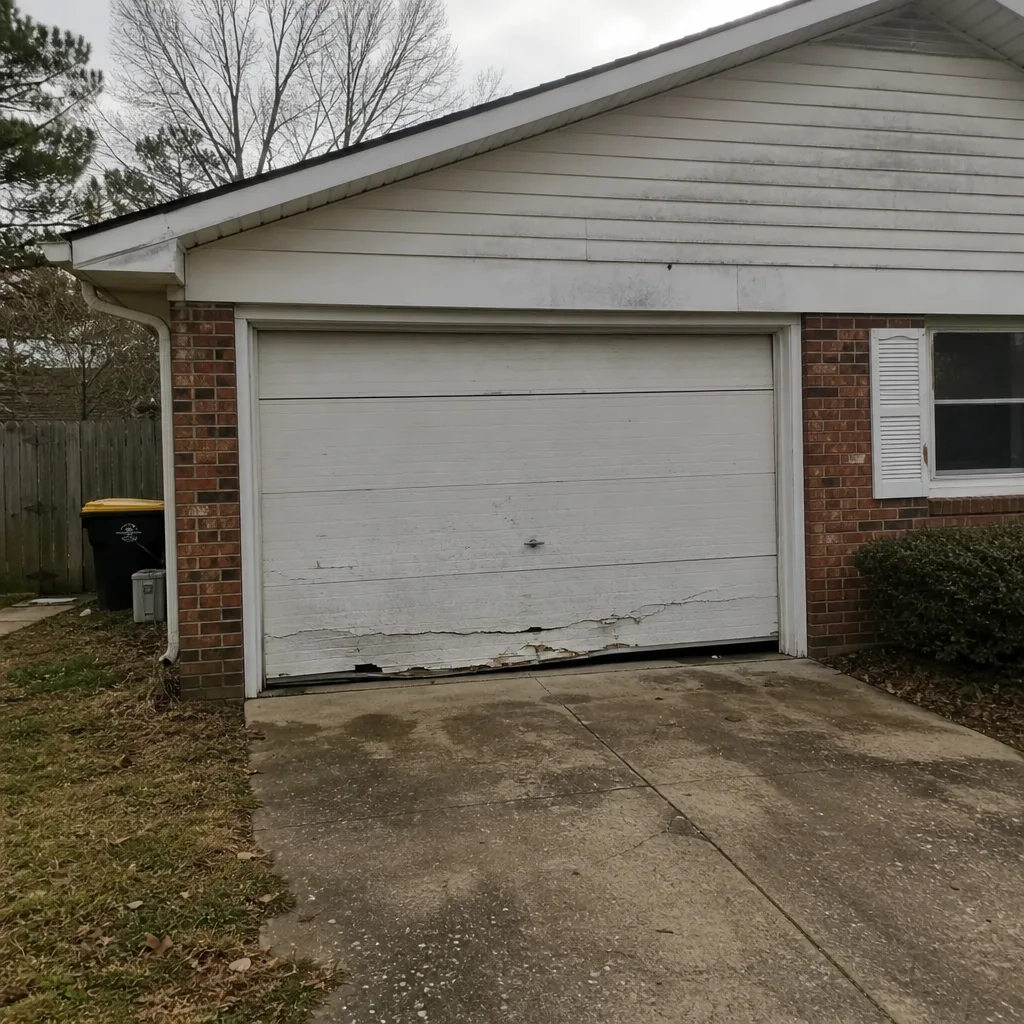 Before
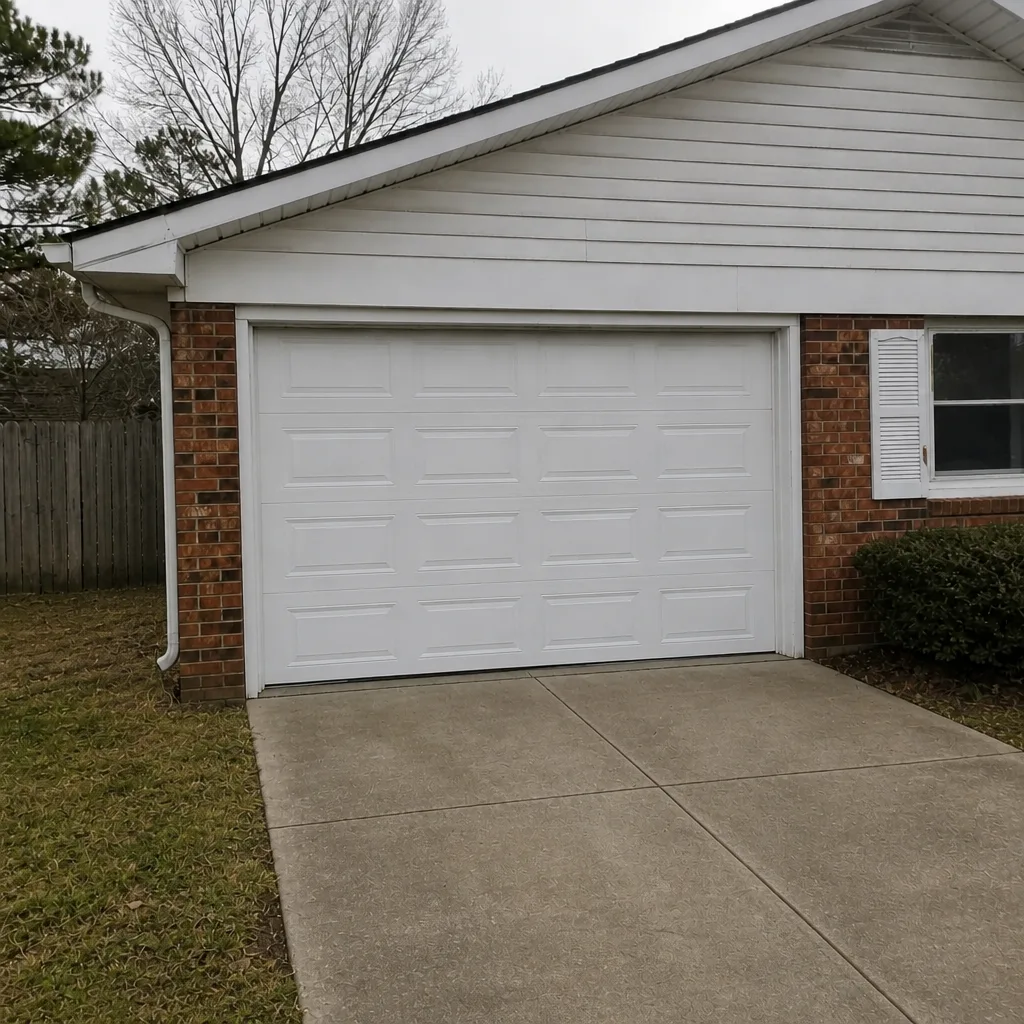 After
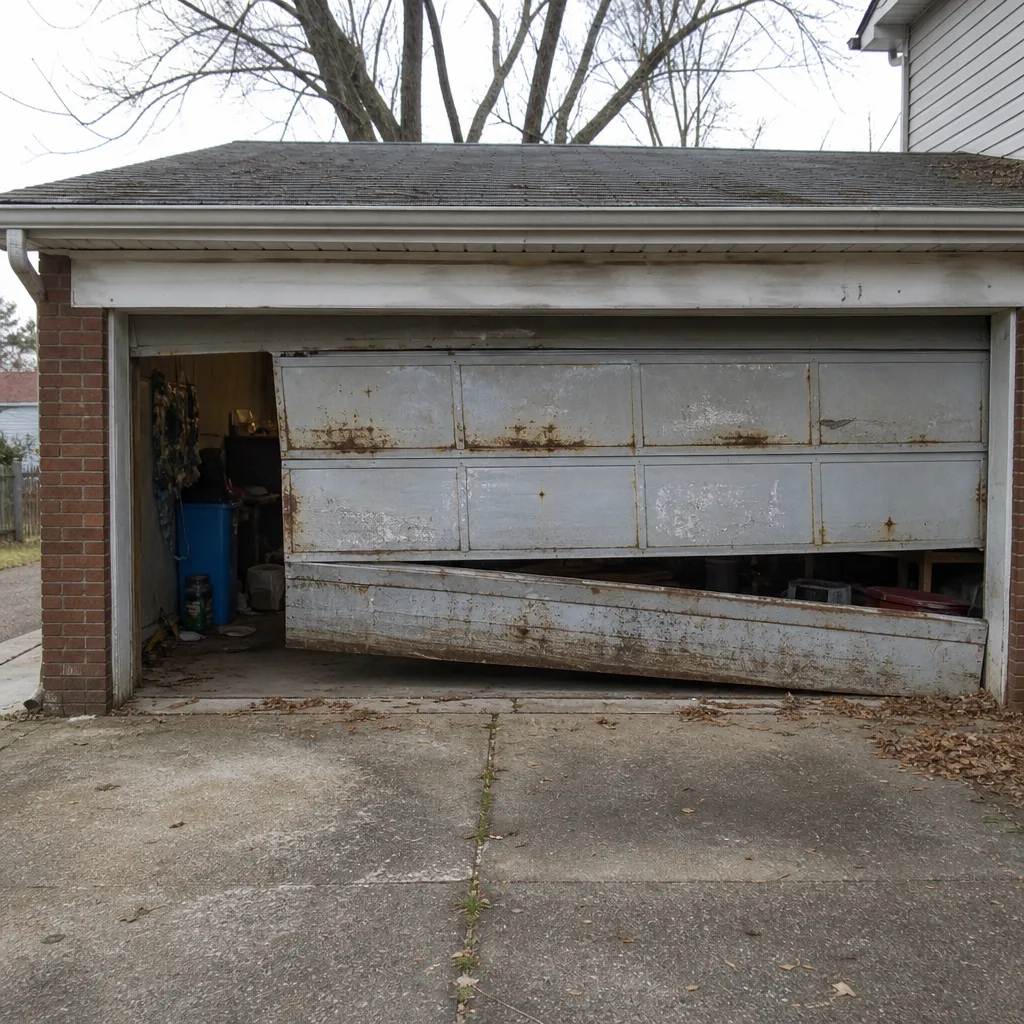 Before
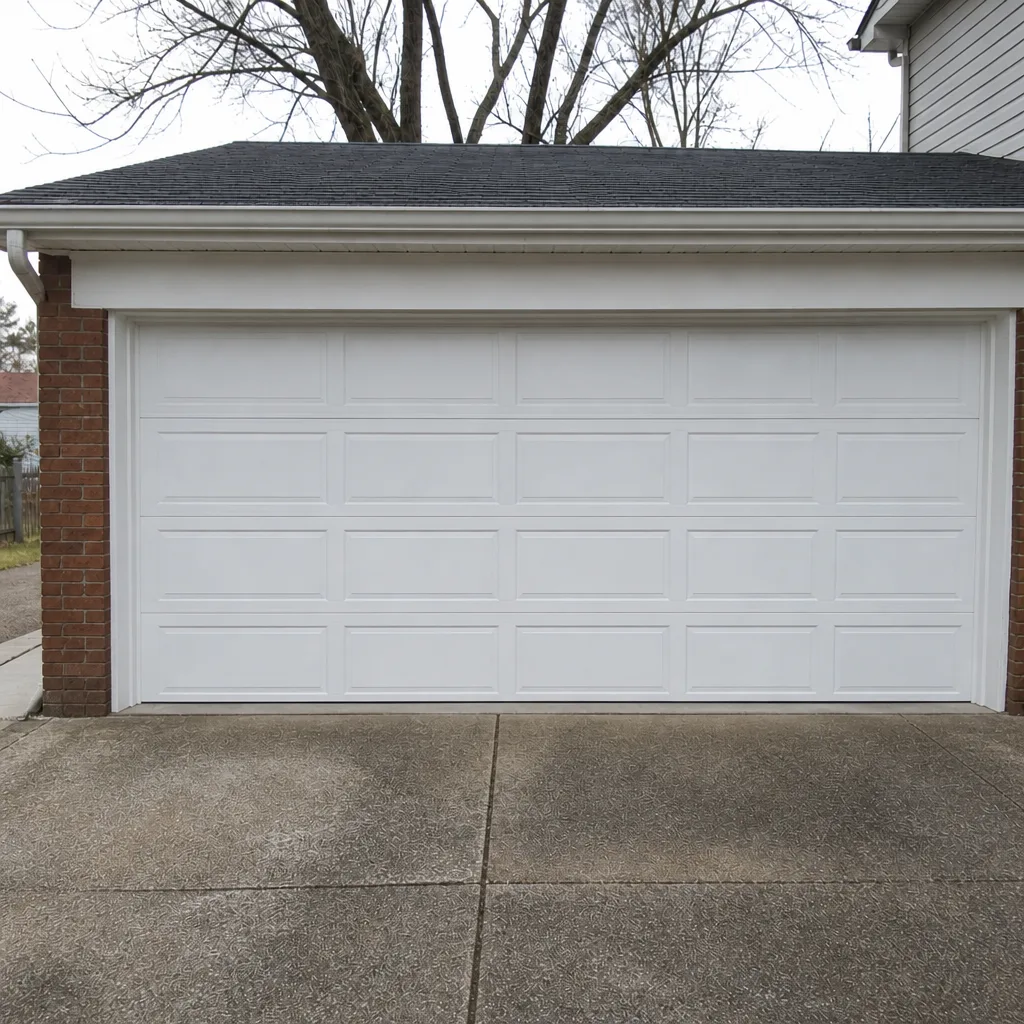 After
When to Call a Professional
Call for service the same week if you find any of the following: a broken cable strand, a spring with visible coil gaps or a distinct metallic pop, a roller that wobbles or won’t spin, an opener that runs but doesn’t move the door, a photo-eye that fails the monthly test, or a door that binds and won’t stay open at chest height. Treat a snapped spring, a snapped cable, or a door stuck open as an emergency garage door service call. We work on the brands most Green Run homes already have, including LiftMaster, Wayne Dalton, Craftsman, and Raynor, so a technician arrives already familiar with the specific hardware in your garage. Garage Door Repair Green Run offers free estimates in Green Run and can quote a fair price before any work begins – call (888) 260-6416.
Frequently Asked Questions
Monthly. Do the quick 15-minute visual walk-around and the opener photo-eye and auto-reverse tests every month. Add a deeper annual lubrication and tightening session, plus a professional balance check about every three years. That cadence catches nearly every failure mode long before it becomes an emergency call.
A failing torsion spring usually shows small visible gaps between its coils that widen over time, or surface rust pitting, or a subtle bang or pop during operation. As it loses tension you may feel the door bind at certain points. If you see gaps or hear a pop, stop using the door and schedule service the same week. Springs are dangerous to handle yourself, and no DIY attempt is worth the risk.
A single broken strand is the go/no-go threshold. A cable that has even one loose strand sticking out of the bundle, a visible kink, or a cable that has jumped its drum is a fail and needs service. If a cable has already snapped, that’s an emergency call. Don’t operate the door by hand in that state, because the remaining cable and the spring are loaded with nothing to counterbalance them.
The local professionals we connect you with are licensed and insured as their state requires. Our technicians have up to 13 years of experience and work on the brands most Green Run doors already use. Call (888) 260-6416 for an exact quote – estimates are free.
No. The price is quoted and agreed before any work starts, and the written estimate sets the final price. If a check turns up something extra during the job, a technician talks it through with you first rather than adding it to the bill. Call (888) 260-6416 to book a free estimate.
Log what you saw and what it did, then call for a quick professional opinion. Most findings are one of three clear categories: pass, monitor, or call for service this week. A technician can confirm which category your finding belongs to in a few minutes, and that beats guessing on a component that could fail with a person underneath it. Call (888) 260-6416 for a free estimate.
The Bottom Line
A garage door maintenance checklist only earns its keep if it tells you what failure looks like, not just that something should be inspected. Use the pass/monitor/fail criteria in this guide, run the monthly checks in fifteen minutes, do the annual lubrication and tightening once a year, and book a professional balance assessment about every three years. Log each inspection so you’ve got history if a warranty claim or a home sale ever asks for it. Anything involving springs or cables is a visual check only. When a check turns up a fail, call us. Garage Door Repair Green Run offers free estimates – call (888) 260-6416.
Written by the team at Garage Door Repair Green Run.